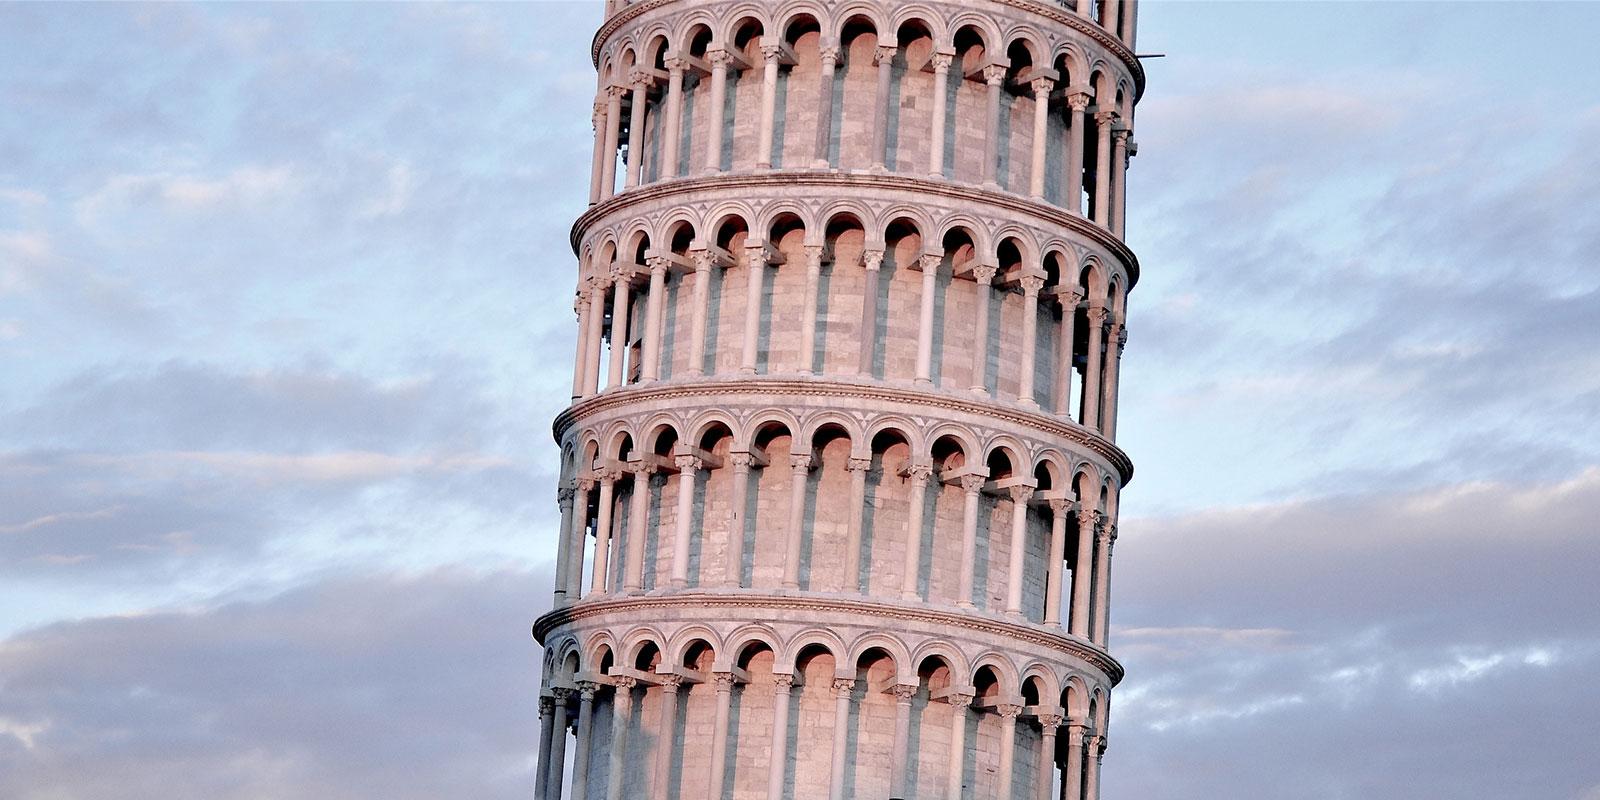
ImageMagick straightens the skew
Building a component for a client of our’s (Take on the Night) for merging some images together to get a kind of cut-out effect, at first I went straight to the known and “beloved” GD-Library. About the struggles, that should follow, and why I jumped behind enemy lines (this is where the Magick happens), I’m going to tell you in a moment’s time.
Unpacking the bundle
As the library formerly known as “GIF Draw” is bundled into PHP since version 4.3, I used it out of habit for our client’s project. As I’ve already shown in a post on my own blog a few months back, GD is quite easy to grasp and use. Weren’t it for a few flaws in the bundled library, like the following, we certainly would have sticked to it.
For neat simple copying of one image to another I have never run into problems. But for the project at hand the objects to be pasted needed a little rotation. And here the problems began.
Upping the Set
Here’s our basic code, up to the point, where we’ll begin turning the screws:
/* Keeping it simple, we bundle all our * object Info into an array */ $imageObject = array( 'width' => 245.50001525879, 'height' => 92.5, 'zoom' => 0.5, 'rotation' => -10, 'left' => 75, 'top' => 125 );
// Our background file and our object $backgroundFile = ‘background.jpg’; $objectFile = ‘object.png’;
Let the games begin
And now the fun part begins, let’s load our image and process it:
// Load the background image from a string // so we won't have to think about the format $boximage = imagecreatefromstring(file_get_contents($backgroundFile));
// The image object has larger proportions than // we wan’t it to, so we have to scale it down. $objectWidth = ceil($imageObject[‘width’] * $imageObject[‘zoom’]); $objectHeight = ceil($imageObject[‘height’] * $imageObject[‘zoom’]);
// Now create an objectImage with our // calculated dimensions and load our object. $objectImage = imagecreatetruecolor($objectWidth, $objectHeight); $tempImage = imagecreatefromstring(file_get_contents($objectFile));
// Copying and resampling our object with // preserved alpha-channel imagecolortransparent($objectImage, imagecolorallocatealpha($objectImage, 0, 0, 0, 127)); imagealphablending($objectImage, false); imagesavealpha($objectImage, true); imagecopyresampled($objectImage, $tempImage, 0, 0, 0, 0, $objectWidth, $objectHeight, imagesx($tempImage), imagesy($tempImage));
Up until now there isn’t much to worry about – preserving the PNG’s alpha-channel might be the most troublesome part, but I think the PHP documentation, specifically the comments there, has this covered. To see our progress till now, let’s paste the object:
The bold and the beautiful
imagealphablending($boxImage, true); imagecopy($boxImage, $objectImage, $imageObject['left'], $imageObject['top'], 0, 0, $objectWidth, $objectHeight);
… and flush our image to the browser:
// Flush the image to the browser. header('Content-type: image/jpeg'); imagejpeg($boximage); imagedestroy($boximage);
Try it on your server and you’ll get something like this “beauty”:
Flop-ROD
Now here comes the part which “breaks” our neat script – “Rotation of Death”:
$angle = $imageObject['rotation'] % 360; $objectRotated = imagerotate($objectImage, -$angle, imagecolorallocatealpha($objectImage, 0, 0, 0, 127)); imagealphablending($objectRotated, false); imagesavealpha($objectRotated, true);
// The rotated object has other dimensions // than the original image so for placing // it at the correct position, we have // to calculate the difference. $diffx = (imagesx($objectRotated) – $objectWidth)/2; $diffy = (imagesy($objectRotated) – $objectHeight)/2;
// And copy it to our background. imagealphablending($boximage, true); imagecopyresampled($boximage, $objectRotated, $imageObject[‘left’]-$diffx, $imageObject[‘top’]-$diffy, 0, 0, imagesx($objectRotated), imagesy($objectRotated), imagesx($objectRotated ), imagesy($objectRotated));
When using this code instead of the simple paste operation, one should think we would get a nicely rotated object and were finished with our little project. But flush the image to the browser and you are going to get this:

As you can plainly see, GD did us no favor and cropped the rotated object. Sad, but that’s how it is. I researched some other methods and even started writing my own rotate functionality, but getting this to work with nice interpolation would have gone beyond the constraints of the client’s project.
So ImageMagick to the rescue!
Sadly, ImageMagick isn’t bundled with PHP, so you’ve got to install it first – but again, read the comments to the PHP documentation , which should get you going soon.
Ready for the Magick?
We’re gonna work on the same foundation as before, so I’ll exclude the basic setup variables and jump straight into loading and resizing our background image.
imagecreatefromstring becomes:
// Load the background image into a // new ImageMagick object $boxImage = new Imagick($backgroundFile);
And now the fun part: ImageMagick terrifically releases us of having to copy our object image around just for having it resized:
// Load the object image with the new // dimensions applied $objectImage = new Imagick($objectFile); $objectImage->resizeImage($objectWidth, $objectHeight, Imagick::FILTER_LANCZOS, 1);
Easy as that. And copying an image onto another is just as straightforward:
$boxImage->compositeImage($objectImage, imagick::COMPOSITE_DEFAULT, $imageObject['left'], $imageObject['top']);
Grub first, then ethics.
Flushing the boxImage to the browser is done with a little more code than as with GD:
// Flush the image to the browser header('Content-type: image/jpeg'); $boxImage->setImageFormat('jpeg'); $boxImage->setImageCompressionQuality(100); echo $boxImage->getImageBlob();
The function getImageBlob returns the final image as a string, just as imagejpeg does in GD. With ImageMagick you just have to set the image format beforehand.

It’s a wee bit cleaner than with GD, in my humble opinion, but that’s not the point. Because when we now add a little rotation…
Flushing without blushing
// Rotate the Image - as simple as that $objectImage->rotateImage(new ImagickPixel('#00000000'), $imageObject['rotation']);
… where ImagickPixel creates the alpha channel for our image object. We’ll get our final image – with no more cropped edges:

Working with images in PHP is really nice with GD – but I think ImageMagick just sugar-coats the process.
I’m a convert – will you be?


